 JojoGS.DEV
 English
 Français
Should You Summon on Giorno Giovanna?
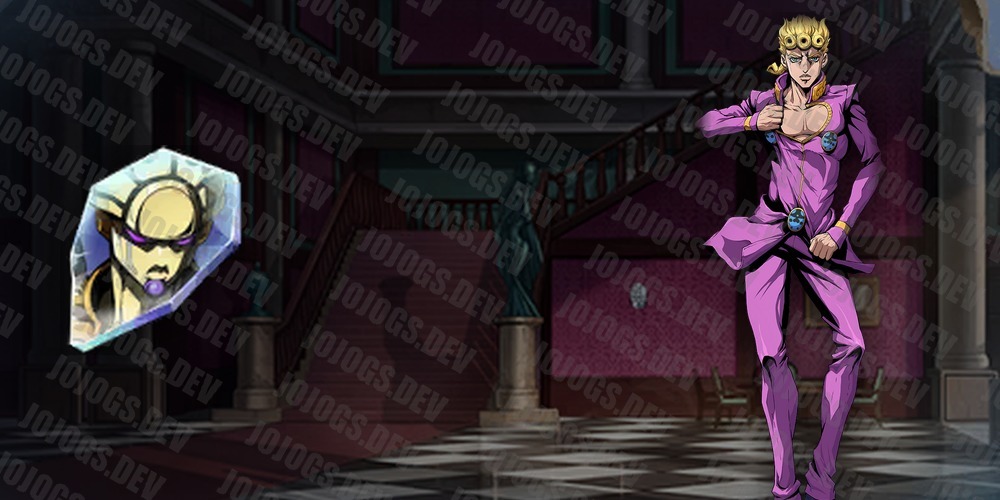
Giorno Giovanna's Featured Recruitment banner: the energy battery and reflective shield behind the biggest support kit in the game, and why his two Ultimates split him into a nuker or a healer.
Giorno’s Featured Recruitment runs from 24 September to 7 October, and this one’s easy: no support in the game brings more from his own kit, and he works on any account, whatever you’ve already built.
If you only pull once this version, this is the banner. The rest of this guide is about what he actually does and how far one copy takes you, not about whether he’s worth it.
What he brings
Two passives, and either one would carry a support on its own.
The best energy battery in the game: every ally opens the fight with 100 extra Energy, up to 200 once the passive is levelled, and every time Giorno casts Tissue Repair the whole team gets another 200 on the spot, Giorno included. Nobody has to be standing near him for it. That second pulse rides Tissue Repair’s cooldown, which comes down to 10 seconds, so your carry’s Ultimate simply lands earlier, every fight, for free. If you’ve ever wanted your damage dealer to ult twice in a fight instead of once, this is how.
And a shield that hits back: the same Tissue Repair cast wraps an ally in a shield worth 14% of Giorno’s own Max HP, rising to 20% as you level it. While it holds, that ally takes 20% less damage, and anyone who attacks them takes damage equal to 100% of Giorno’s Attack in return.
Neither of those cares which Ultimate you equip, which is the important part: his support job never turns off.
He also gains up to 20% Max HP and Attack himself. That one is personal rather than shared, but it still reaches the team the long way round: every heal and every shield he hands out is a percentage of his own Max HP, so the bigger he is, the bigger they are.
Kit breakdown
 Tissue Repair (Active Skill). Heals whichever nearby ally is worst off for a big slice of Giorno’s Max HP and leaves them taking more healing from everything that follows. Cooldown drops from 14 to 10 seconds as you level it, and it costs no Energy to press, which is why even his damage build still heals: you always have this button. It is also the button: the team-wide Energy pulse and the shield both fire off this cast and nothing else, so pressing it on cooldown is most of playing him well.
 Life Energy Detection (Passive, unlocks at 2-star). The battery and his own stat bonus, both in one line: 10% more Max HP and Attack for Giorno himself, rising to 20% as you level it, then 100 Energy for the whole team at the start of the fight, rising to 200, and a flat 200 more for everyone each time he casts Tissue Repair. Only the Energy is shared; the stat bonus is his alone. This is still the most valuable passive he has and it’s also the cheapest to reach, which makes his second copy unusually worth chasing.
 Reflective Shield (Passive, unlocks at 3-star). Every Tissue Repair cast drops a shield on one ally for 5 seconds, carrying 20% damage reduction and a counter-hit worth 100% of Giorno’s Attack while it holds. One thing to plan around: it refreshes rather than stacks, so against a boss that throws a lot of small hits it gets shredded and re-applied rather than actually absorbing a big swing.
 Golden Growth (Passive, unlocks at 5-star). Casting his Ultimate hands 200 Energy, up to 300 as you level it, to whichever ally has the least Energy right then. It goes to whoever is furthest from their own Ultimate, not to whoever he just healed, which makes it a genuine second battery line rather than a bonus on the heal. Nice, not transformative.
 Consciousness Rampage (Ultimate). A single-target nuke that also Incapacitates the target and leaves it taking 80% more damage from everyone. That damage-taken rider is the most valuable offensive line in his whole kit, because it multiplies what your actual carry does to that target, not just what Giorno does. The Incapacitate is a roll until the skill’s last level, where it becomes guaranteed, and Giorno has zero Effect Hit, so before then it can miss.
 Life Creation (the other Ultimate). Heals the worst-off nearby ally for 50% of Giorno’s Max HP, rising to 70% at its last level, and grants Regeneration, which pays out another 30% (50% at last level) when it expires or the moment that ally drops under 30% HP. Fully levelled that’s more than Giorno’s own health bar delivered to one character. It does no damage whatsoever.
Only one Ultimate fires at a time, so pick by the problem you have. Consciousness Rampage is the default: you keep the entire support package, you keep Tissue Repair for healing, and you add a disable plus a damage amp for your carry. Life Creation is for content that’s genuinely killing you, where a single heal worth more than Giorno’s whole health bar beats a nuke. Since every one of his passives works on either build, swapping costs you nothing.
How many copies to go for
Your first copy already does the whole support job. Everything he does scales off his own Max HP, and you raise that with gear, not with pulls, so a single Giorno with good HP gear outperforms a starved one with dupes.
- 1-star (your first copy): Tissue Repair and Consciousness Rampage, at base numbers. A real, functional support from copy one.
- 2-star: unlocks Life Energy Detection, the Energy battery. This is the biggest single jump in the kit and it’s his cheapest breakpoint. If you’re aiming at one, aim here.
- 3-star: unlocks Reflective Shield, the damage reduction and reflection layer.
- 5-star: unlocks Golden Growth, the extra Energy dump. Completes the kit without changing his job.
Life Creation comes from his own Ability recruitment rather than character copies, so your star count has no say in whether you can run it. Most accounts won’t need it: Consciousness Rampage keeps Tissue Repair for healing anyway, so Life Creation is a specialist tool rather than a second half you’re missing.
- Super F2P: one copy, then put your resources into his HP gear rather than his banner. He’s doing his job already.
- F2P / light spender: 2-star, specifically for Life Energy Detection. This is one of the few second copies in the game that genuinely changes a whole team’s output rather than one character’s numbers.
- Spender: max Consciousness Rampage so the Incapacitate stops rolling and starts landing, then 3-star and beyond. The last level of that Ultimate is worth more in Arena than any of the star unlocks.
In PvP
He’s genuinely strong here, which is rare for a support. The battery accelerates your whole team’s Ultimates, the shield and the heal give you sustain nobody has to spend a turn setting up, and once Consciousness Rampage is maxed you’re bringing a guaranteed hard disable on top. What keeps him off the very top is that he has no cleanse and no way to strip an enemy buff, so he answers pressure rather than preventing it. Bring him to make your team survive the opening; don’t expect him to win it outright.
Should you summon?
Yes. Early verdict: 5/5.
He’s a near-universal team backbone: no build requirement, no partner requirement, no content he’s bad in, and he lifts every character standing next to him. Giving your existing carry an earlier Ultimate and a target taking 80% more damage improves your account more than most new damage characters would.
The one thing to be clear-eyed about is that he’s a support first. His damage build is real, but it isn’t a carry, and there’s no area damage anywhere in the kit. Pull him to make the team you already have better, not to replace your damage dealer.
Related
- Should You Summon on Caesar Anthonio Zeppeli?: the banner running before his, if you’re budgeting across both halves of the version.
- Buffs & Debuffs: how his shields and the damage-taken rider actually stack.
- How damage works: why an 80% damage-taken debuff on one target is worth more than it looks.