 JojoGS.DEV
 English
 Français
Should You Summon on Jotaro Kujo?
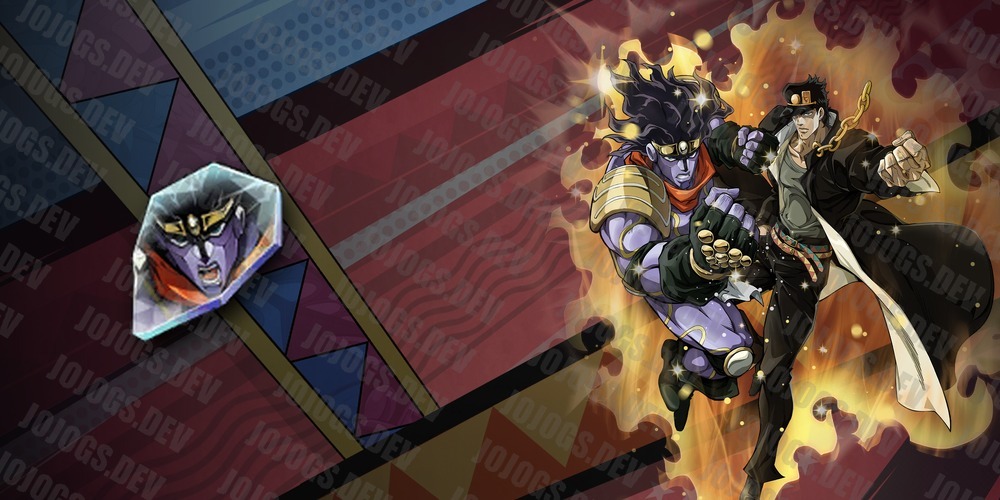
Jotaro Kujo's Featured Recruitment banner: what his kit does, whether his Time Stop Ultimate is worth chasing, and how far a single copy actually takes you.
Jotaro Kujo’s Featured Recruitment is live, and he’s worth taking seriously: a melee Attack carry who does a bit of everything (control, self-sustain, a huge single-target burst) and is strong enough on day one to anchor an account that has nothing else built yet.
What he brings
At a glance, Jotaro looks like he does a bit of everything: crowd control, a shield, a comeback window when he drops low, and a huge burst of damage he can throw at a single target. In practice that holds up. He’s an Attack-scaling melee brawler who starts every fight with a massive head start on Energy, so his Ultimate is ready to fire within seconds instead of building up over the whole match. Everything he does, from his basic swings to his Ultimate, counts as a basic attack, so any gear or stat that boosts basic attacks pulls double duty on him.
He also brings his own Defense Down, stacking on every enemy he swings at. It’s not enough to replace a dedicated Defense Down carrier like Blueford outright (his uptime on the debuff alone is modest), but stacked alongside one, it’s a genuine team damage boost, not a token effect.
Worth knowing before you get attached to that description: the shield and the comeback window are passives, not part of his base kit. Your first copy does not have them, see How many copies to go for below for exactly what unlocks when. Once you do have them, one more thing to plan around: they only fire when he takes hits himself. Pairing him with a tank who steals all the enemy’s attention can quietly starve that half of his kit, since nothing is landing on Jotaro to trigger it. He wants to be in the fight taking some hits, not standing safely behind a wall.
Kit breakdown
Basic Attack. A fast melee chain. Nothing flashy, but it’s his Energy engine: every swing charges his Ultimate, and since his whole kit counts as a basic attack, whatever boosts this line boosts everything else too.
 Ora Ora Ora (Active Skill). Three rapid hits into the enemies in front of him, each one with a real chance to Stun and to stack Defense Down. This is his zone control tool: land it on a cluster of enemies and you’re chipping their Defense while locking a few of them out of acting. Its cooldown drops noticeably as you level it, so a leveled up Ora Ora Ora is casting far more often than a fresh one. The one catch: the Stun and the Defense Down aren’t guaranteed, they roll against the target’s own resistance, so against tanky or resistant opponents they’ll whiff more than you’d like unless you’re gearing him with some Effect Hit.
 Punish Evil (Passive, unlocks at 2-star). A quiet, always-on boost to his Attack and Max HP, plus a real comeback button: drop under half HP and he gets a five-second window of bonus Crit Rate, Damage Reduction, Effect Resistance, and steady healing back up. It’s not a revive (he doesn’t come back from zero), but it’s the difference between “he’s about to die” and “he just turned the fight around” more often than you’d expect.
 Settled Debt (Passive, unlocks at 3-star). Every time Jotaro gets hit, he banks a stack. Cast his Ultimate and those stacks convert into a real shield plus a temporary Attack boost, then reset. This is the passive worth chasing dupes for: it turns him getting focused into him getting stronger, and it’s the reason he doesn’t want a tank hogging all the aggro.
 You’re Not Running Away (Passive, unlocks at 5-star). Basic attacks against the same target stack up bonus damage the longer you keep hitting it. A pure stay-on-target damage ramp, best on the single-target build.
 You’ve Angered Me (Ultimate, Build A). Not a damage button by itself. Casting it puts him in an Enhanced state where his next five basic attacks each become a cone attack instead of a single-target swing, hitting everyone in front of him. This is his AoE mode: chain those cone strikes with Ora Ora Ora’s stun rolls and you’re locking down and shredding an entire group at once, which is exactly what makes him feel so versatile in PvP.
 Time Stop (Ultimate, Build B). His other Ultimate, and a completely different tool: he auto-targets and dashes onto whoever has the highest Attack on the enemy side, wherever they’re standing, then unloads twelve hits followed by a finisher that scales off how much HP they’re missing. No aiming required (it picks the biggest threat for you) and it deletes a huge chunk of their health bar. This is the big single-target burst people notice the moment they use it.
You can only have one of the two Ultimates equipped at a time, so think of them as two different jobs rather than an upgrade path: You’ve Angered Me for group fights and PvP zone control, Time Stop for hunting down a single dangerous target.
How many copies to go for
Be clear-eyed about what your first copy actually gives you: Basic Attack, Ora Ora Ora, and You’ve Angered Me (Ultimate A), at Level 1. That’s a real, playable kit, but none of his three passives are active yet, so the shield, the comeback window, and the stacking damage ramp described above are all still locked.
Here’s exactly what each extra copy buys you:
- 2-star (your 2nd copy): unlocks Punish Evil, the stat boost and the sub-50%-HP comeback window.
- 3-star (your 3rd copy): unlocks Settled Debt, the shield and Attack-window engine. This is the passive that most changes how he plays, worth prioritizing if you’re picking one star breakpoint to aim for.
- 5-star (your 5th copy): unlocks You’re Not Running Away, completing the kit.
Time Stop (Ultimate B) is separate from all of that: it unlocks through his own Ability recruitment, not character copies, and a single pull there is enough regardless of how many stars you’re at. Budget for both banners rather than assuming one covers the other.
- Super F2P: one character copy plus a single Ability pull gets you a working Jotaro (basic-attack loop, either Ultimate), but budget to push toward 2-star and 3-star when you can. The passives aren’t optional flavor, they’re a real chunk of what makes him strong.
- F2P / light spender: aim for 3-star for Settled Debt specifically, and get the Ability pull too.
- Spender: push to 5-star for the full kit, and max his level and his Ability alongside the character. Don’t leave one behind while chasing the other.
In PvP
Both Ultimates hold up in Arena, and neither clearly outclasses the other, so pick based on what you’re facing. You’ve Angered Me’s cone stuns are strong zone control against a clustered enemy team, while Time Stop’s auto-targeting burst is built to delete whichever enemy is hitting hardest, usually exactly the unit you want gone first. Either way, he’s one of the most flexible picks on a PvP roster: there’s rarely a matchup where neither build has an answer.
Should you summon?
Yes. Early verdict: 5/5.
He doesn’t need a specific partner or a specific team comp to be good, and he’s genuinely one of the best characters in the game to open an account with, but don’t mistake that for “one copy and you’re done”: his passives are real, dupe-gated power, not flavor text, so budget to push toward 2-star and 3-star rather than stopping at his first copy. Worth knowing going in beyond that: characters this strong early tend to get caught up as the rest of the roster matures and gear improves (that doesn’t make him bad later, he stays a very solid pick), it just means the gap between him and the newest top-tier releases will narrow over time. Pull him now while he’s this far ahead of the curve, invest in the dupes when you can, and enjoy carrying with him early.
Related
- How damage works: the stats and mechanics behind everything in this guide.
- Fighting Styles: what being an Assault-type character means for team building.
- Investment guide: how Level, Ability, Star, and the Star Tree stack on top of a pull.